


You will need:
1/2 yard home décor fabric for your exterior
1/3 yard cotton for interior
9" zipper to match your exterior
1/4 yard #808 Pellon Craft Fuse Interfacing
Thread in your choice of color
Sharp sewing scissors, pins, iron and ironing board
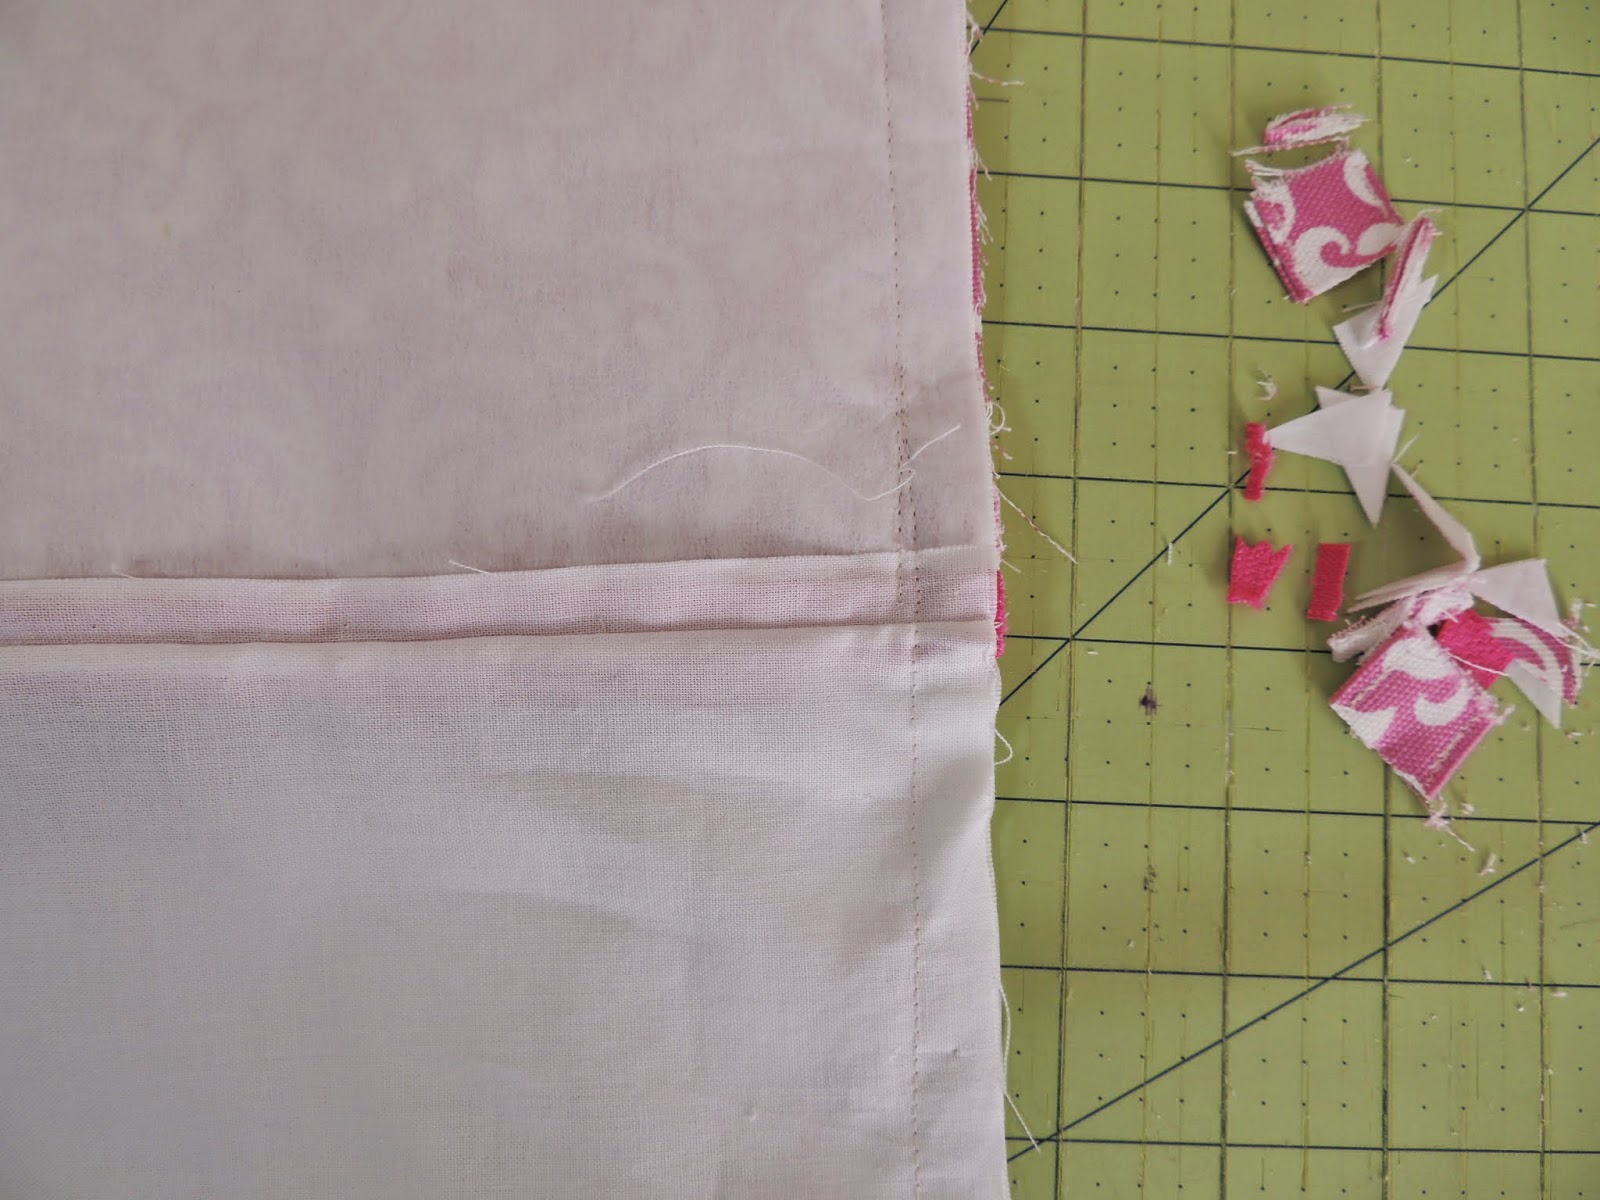
I will be using my mat and cutter which makes cutting precise measurements a breeze
You will cut your 2 exterior pieces 6" H X 10" W
Cut your 2 lining pieces 6" H X 10" W
Cut 2 bow pieces from exterior fabric 11 x 5
Cut one strap piece 14 1/2 x 3 1/2
Cut the knot piece for bow 2 x 5
Cut 2 pieces of interfacing 10 x 6
First, I placed my exterior fabric down, took an inch off the side to "clean it up" then moved my ruler over 6" and cut. Now I have a strip 6" high.


I used this same method to cut the bow pieces, strap, and cut the knot piece from the leftover strap piece and trimmed it to the correct size.
 Now cut your cotton interior pieces the same way.
 Then cut your interfacing. Mine is straight but it flipped it looks crooked.


Now you can start making your new bow clutch!
Bring your strap piece to the ironing board, fold in half with the right sides on the outside, line up the edges and make a sharp crease with your iron.
Now open it up so you can see the crease. Fold one side up to, but not beyond the crease. Then do the same for the other side.


Now fold in half and iron.
Now bring your strap piece to your machine and sew down both sides, just a little inside the edge. As always, backstitch at the start and end every time you sew.

Now your strap is done. Time to make the knot. Bring it to your ironing board, iron a crease in the middle by folding in half, then bring each side to the center crease and iron. After that, just give it a good press.

Now bring it to your machine and fold it in half, right sides together, so you are looking at the inside where the raw edges are. Bring the raw edges over to your 1/2 inch mark and sew them together. Trim half the raw edges off so you're left with a1/4 inch seam. Then turn the piece right side out.


Now it's time to make the bow. Lay both pieces, right sides facing each other and pin on the long sides and sew with a 1/2 inch seam. Trim half the sides off, leaving 1/4 inch beyond your seam.
Now through one of the open ends, turn it right side out. Give it a press with the iron, and make sure the seams are on top and bottom.Fold it accordion style and put it through the knot. Your bow is done!


Now lay one of your interfacing pieces shiny side up, then lay one of your body pieces on it with the right side facing up. Iron them together making sure they are lined up. Repeat with the second body piece.


Now line the long edge of the piece along a line on your mat. Lay your ruler down 1/2 inch from the top and draw along that line with a pencil. Repeat with the other piece. Now bring those to the ironing board, lay upside down with the pencil line side facing you. Fold on that line and iron all the way across. Work in small sections at a time. Repeat with the other piece.


Now set those aside and do the same with your lining pieces.


Now you'll attach your bow to what will be the front of your clutch. Start by laying one body piece down, right side facing up, with the fold you made at the top. Lay the bow down and start pinning at the top of each side 1/2 inch down from the top. The bow is wider than the bag piece, so make sure a little is hanging over each side. Pin the bottom sides of the bow making sure they are even. Sew the sides of the bow close to the edge of the bag.


Now flip the piece over and trim the bow sides even with the bag.


Lay your zipper upside down with the pull on the left. Lay one of your interior pieces just a little bit away from the "line" of the zipper. It should be close, but if it's too close, it will get caught in your zipper when you open and close it. Pin it to keep it in place while you sew. The raw edge of the fold should be underneath.
 Now Pull the zipper down a few inches. No you don't need a zipper foot for this. I have one but this method I'm going to show you is way quicker than switching out your feet. Now start sewing, close to that folded edge. When you get close to the zipper, put your needle all the way down to hold your place, remove the pins where you've allready sewn, lift the presser foot and pull the zipper up out of the way. Lower the foot, and continue stitching to the end.


See how I only have one pin on each side of the bottom of the bag in the photo above? Those are my "start" and "stop" points. Now bring the bag to your machine and start at the pin on the left and sew down to 1/2 inch from the corner with a 1/2 inch seam allowance. Bring your needle down, rotate the bag then continue going around the bag and stopping and turning 1/2 inch from each corner. When you get to the strap, take your pin out and hold it down with your fingers until you sew it down. That area is very thick and you may need to help push the bag through as you sew.


When you get back to the side you started on, only sew to the pin on the right, leaving that hole for turning your bag right side out.

Now clip the corners of the bag to within 1/4 inch of the seam, then cut your strap off so it's even with the bag.


Now reach into the hole and pull your bag to the outside.


Now with something like this (above) or maybe a chopstick end (not something sharp!) gently run it along your seams to push them out. Push your corners out as well. Then pull your lining out, be sure the area where your hole is, is folded to the inside. Press them so they are even, then stitch the hole closed. You're done! There are so many ways you can do this bag. Do the whole thing in a solid color. Do a solid bag with a coordinating color bow, use chevrons, polka dots, the possibilities are endless! Here's a few more I've made.


Have fun with these!
Gina
No comments:
Post a Comment