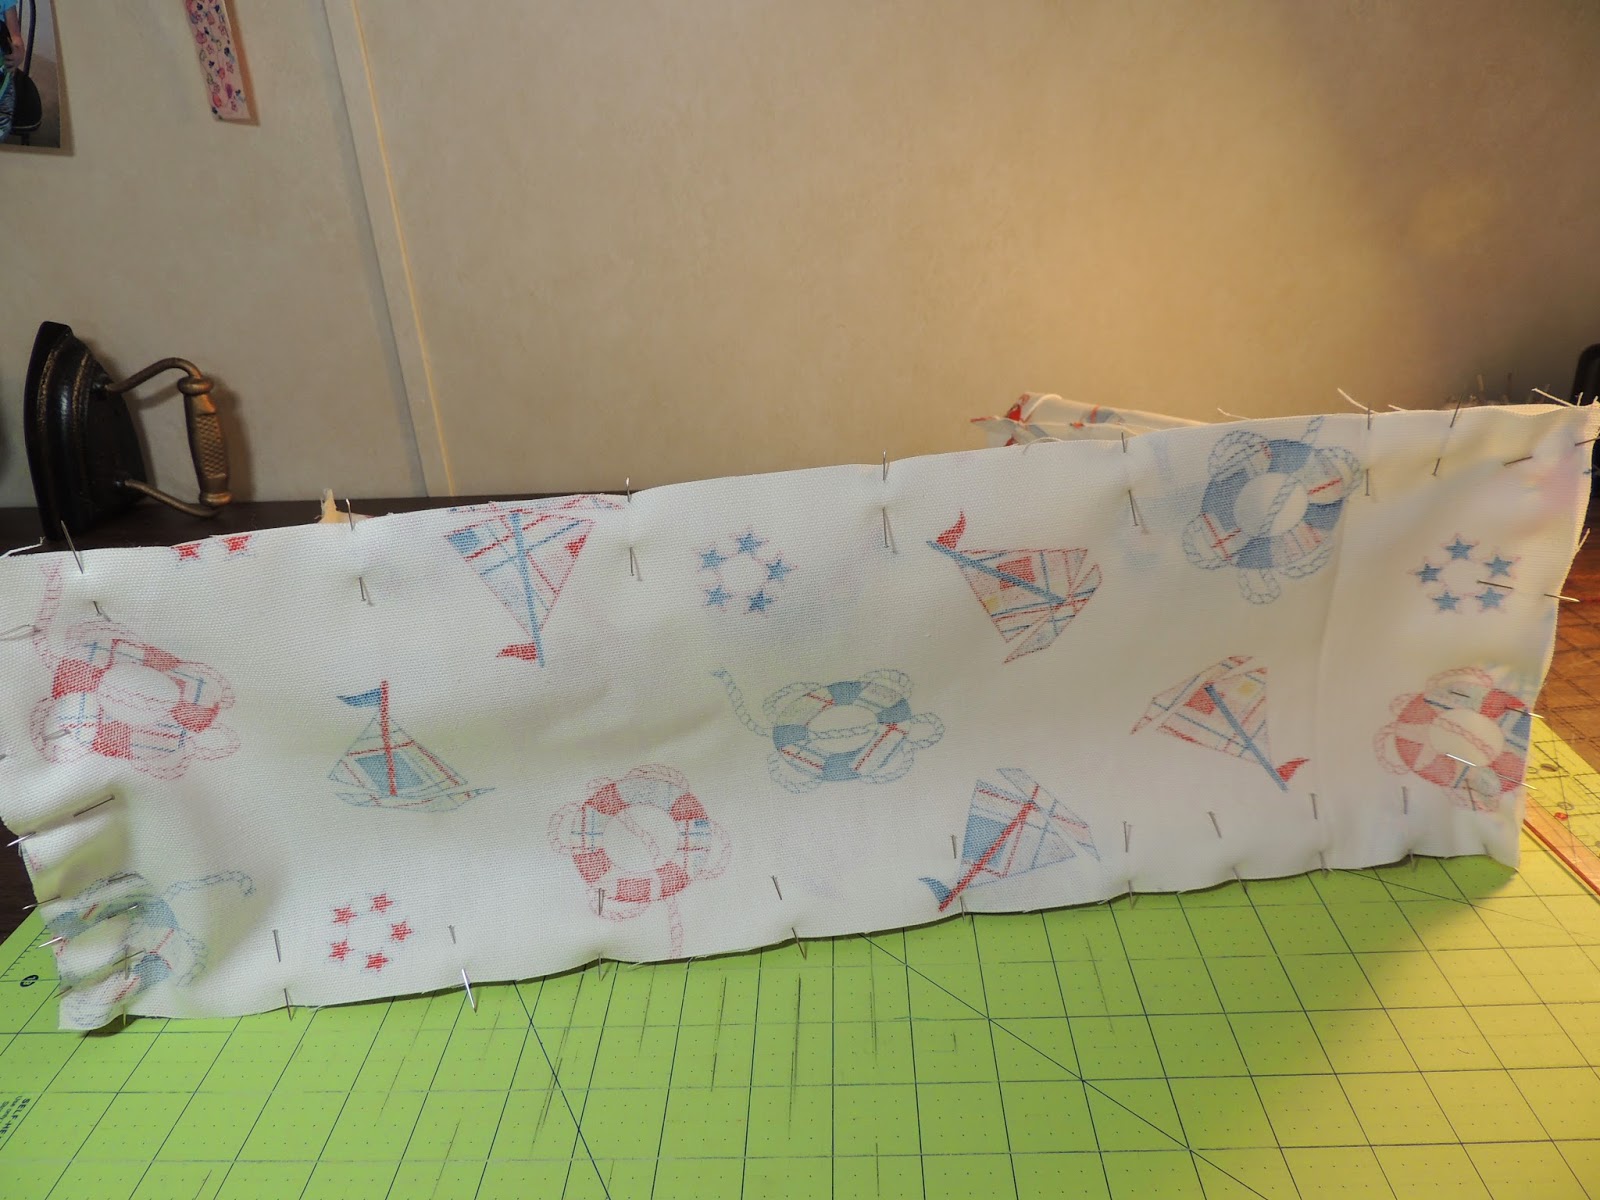
Hi everyone! It's a beautiful sunny morning here in Northeast Florida. The temperature hit 80 yesterday and after cleaning the house I went into the sewing room and did some cleaning and organizing. I found a huge piece of nautical themed canvas I got for .50 at the Waldo Flea Market a few months back when hubby and I went on a Saturday just to while away some time on a pretty winter day. I've been able on several occasions now to find amazing deals on fabric at thrift stores, yard sales and flea markets. We just purchased a used pontoon boat this weekend, and with a couple of warm days in a row I thought now is a great time to get a large tote sewn to take on the boat, Kingsley Lake, and to the beach. I decided not to do a lined tote and so there is no interfacing. This bag can be folded when not in use but as you can see, when it's got the goods in it, it will stand up. To make the tote I cut the following size pieces:
(2) 21 W x 17 1/2 H for front and back
(2) 17 1/2 H x 7 W for the sides
(1) 7 W x 21 L for the bottom of the bag
(1) 11 x 11 piece for the front pocket
(4) 3 1/2 W x 28 L for the handles
Here's how I made it
I folded all four sides of my pocket piece in 1/2 inch, sewed them closed, then placed the pocket 6" from the top in the center of the front piece and sewed the 3 sides.
I used the line going across as my guide.
I laid the front piece right side up, and one side piece facing down, lined up and pinned the sides, and sewed them with a 1/2 inch seam allowance. Remember the folds you've created are the top of the bag. The folds will keep popping open as they're not stitched down, but just make sure when you sew down the sides, it's pinned down on that area. Don't worry about the rest.
Then I placed the back piece face down , pinned and sewed it to the side piece I just sewed on.
Then the other side piece do the same way, face down right sides together. Then sew the other side of that side piece to the front of the bag, right sides facing. Now you have a tube.
I don't have a serger so I used a zig zag stitch on all my seams to help prevent fraying. Then I folded my bag on each seam and gave it a good press.Now sew all the way around the bag using a 1/2 inch seam allowance being careful to keep the rest of the bag out of the way. Zig zag those seams too to prevent fraying.
You should be very excited right about now because the bag part is done and all we have left are the straps!
Take two of your strap pieces and pin them right sides together. Sew down the long sides keeping the short ends open.
Now take one short end and begin to pull the fabric out through that hole. This takes a lot of finger work and a flat end dowel or chopstick helps to push it up and out from the end below. Just don't use anything sharp.
Once it's open, give it a press making sure your seams are on the outside and your strap isn't twisted. Then lay on the mat and mark 1/2 inch down on both sides, of both straps. Fold the raw seams to the inside, and press.
Lay your bag so the open end is facing you. Make a mark with fabric pen or pencil 3" in from the sides of the front and back of the bag. Pin your strap piece so the outside of the strap is on the 3" mark, and the rest of the strap is going towards the center of the bag. Line the bottom of the strap piece with the bottom of the fold. Pin around the bag to secure the folds before sewing. Sew around the entire top of the bag close to the edge. Then again at 1/2 inch. Then again near the bottom of the fold. This will ensure your strap pieces don't start coming loose.
Done! This beach bag is sturdy and will hold more things than I usually pack. Three large sized beach towels, a magazine, book, sunscreen, and 2 snacks later... and I still have room for more. I love this bag!
Have fun with this. Blessings,
Gina


No comments:
Post a Comment