Hi and welcome to my blog and my very first post! I've been sewing, cooking, quilting, scrapbooking, crafting and thrifting since before it was cool. I am so excited to see a return to hand crafted and hand sewn. Things made by hand are from the heart and unique. I've been sewing and selling for over a year locally and on Etsy. You can click on the Etsy button and go right into my little shop to see what's there waiting for a good loving home. Now I want to devote my first post to Valentines Day which is just three weeks away. I've come up with several projects from patchwork, sewing, using mason jars, and scrapbooking cardstock. I made the pillow over a two day period and the other crafts combined took only about two hours. So you have plenty of time to get these done and be able to enjoy them as a tradition every year. My display area for seasonal projects is a vintage door that I got at a yard sale and had a friend build shelves for it and put "feet" on it so it doesn't fall. When you don't have a mantel, be creative and find something else that grabs attention and will hold the same types of things a mantel would. I love these projects and I hope you will too!
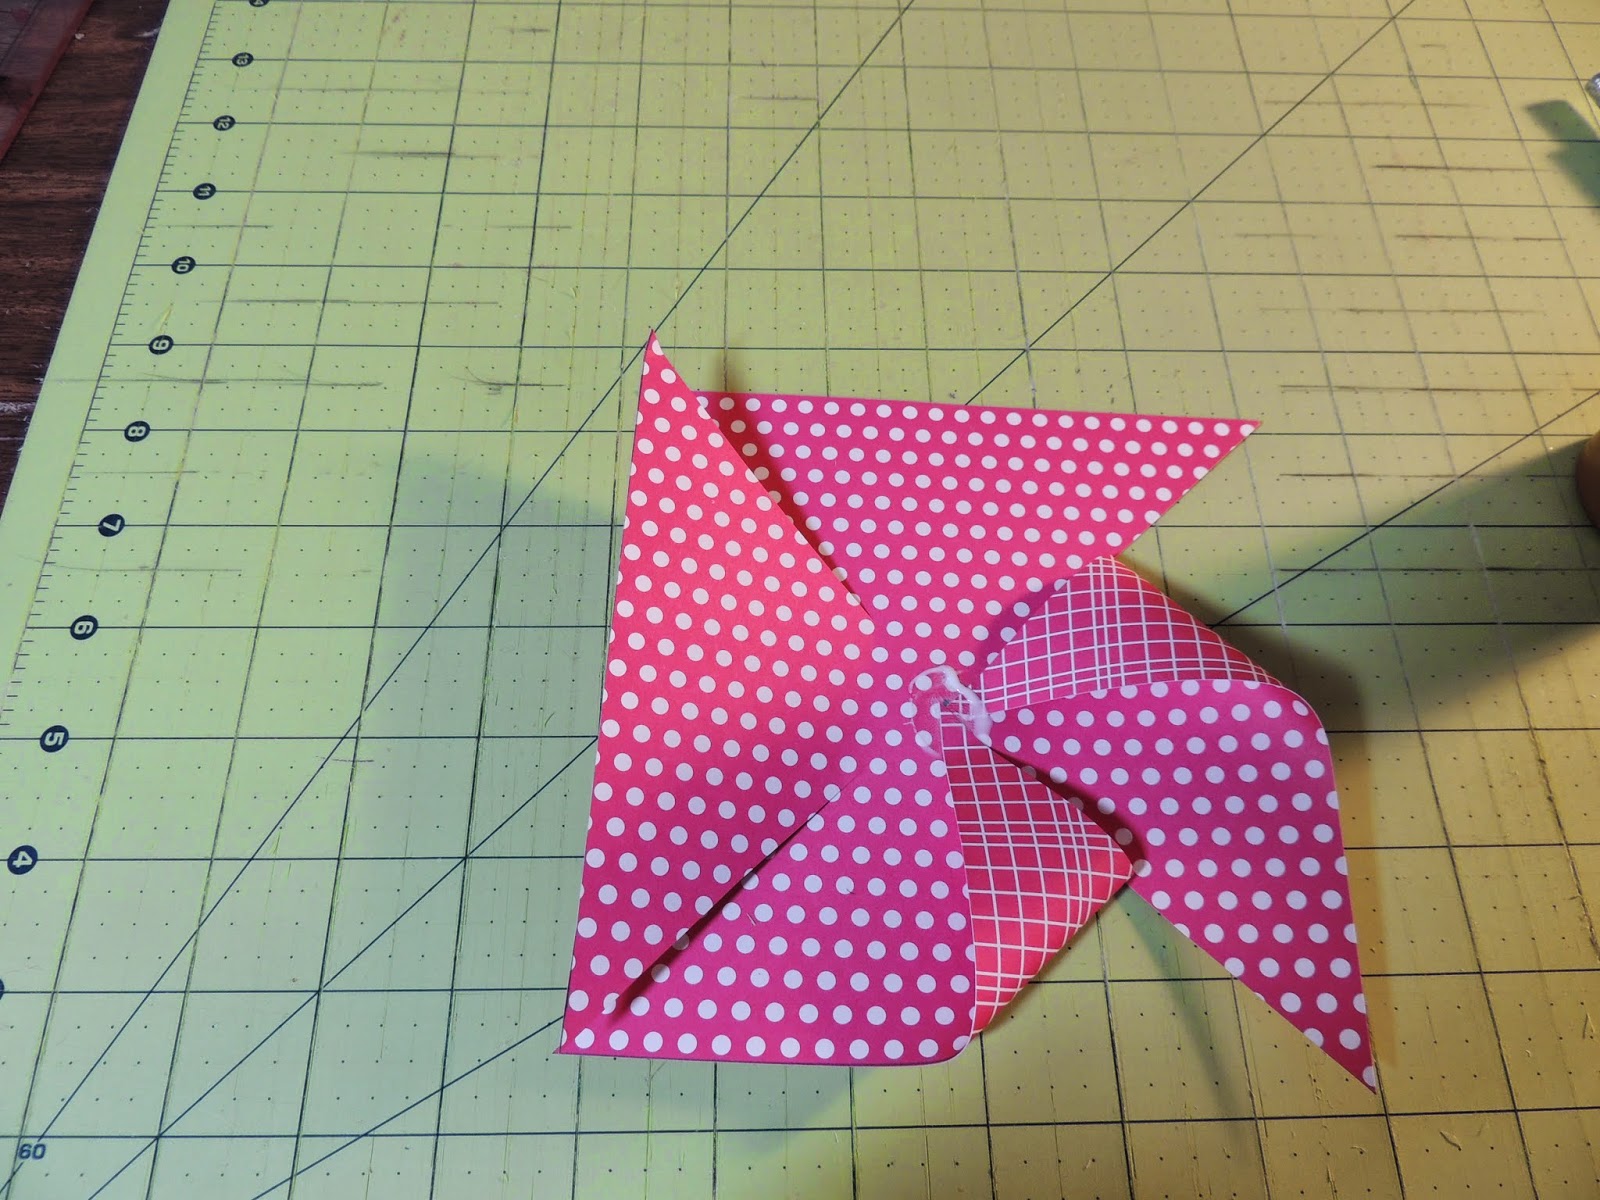
I made pinwheels from scrapbooking cardstock, white glue, buttons, and thin dowels. I will put photos of each step after instructions. First I cut my 2 sided 12 x 12 cardstock in half. Then I took one of those halves and cut it in half so I ended up with a 6" square. I put a dot in the center of the square. I used paper scissors and cut from each corner almost up to the center dot. I started on the bottom right hand corner and folded the tip over and glued it to that dot and pressed for about a minute. I turned the square counter clockwise and folded the bottom right side tip to the dot and glued it. I continued rotating the paper counter clockwise and bringing the tip on the bottom right side to the dot and gluing it. Then I chose a button from my box of buttons and glued it to the center to cover the mess and just look cute. I turned the pinwheel upside down, and pressed both the button underneath and the dowel to adhere it to the line of glue I put in the middle of the back. I had to press and hold for 5 minutes for the dowel to stay in place. The pinwheels are pretty large so I only needed 3 to fill my mason jar. The mason jar was a .50 GW find that I painted with the off brand white chalk paint. I used 2 coats. I used a flat brush, and pink acrylic paint I already had to paint lines on the jar. When dry, I hand painted red hearts on also with acrylic paint. I used the handle end of a paintbrush with a rounded end and did 2 dots across from each other for the top part of the heart. Then I dipped the same end back in the red paint and drug the paint down to the center underneath on both dots to make the bottom triangular part of the heart. It's easy, just practice and you'll see!